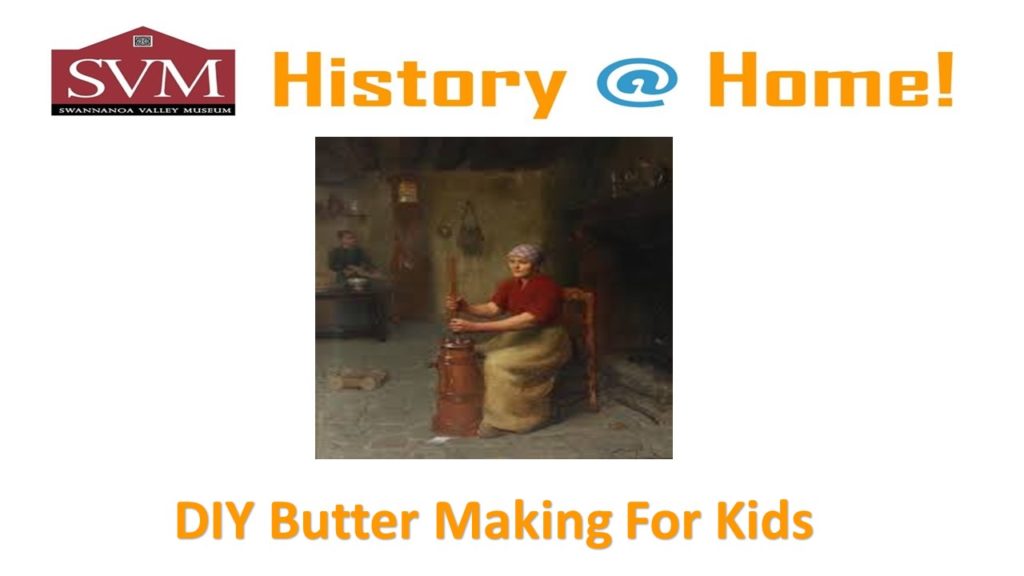
DIY Butter:
Butter has been a staple in households throughout the world for many centuries. It is most commonly made from Cow’s milk. in ancient Rome it was swallowed for coughs or spread on aching joints. By the middle ages butter was commonly found in European cooking. The pilgrims brought it with them when they crossed the sea to the America’s. Butter has played a major role in American cooking since the beginning and still plays a role in our cooking today. So make a fresh batch and celebrate butter’s history!
DIY Butter Instructions:
Materials:
1 Pint Heavy Whipping Cream
1 Mason Jar
⅛ Teaspoon Salt (optional)
Marbles (optional)
Instructions:
- Pour cold heavy whipping cream into the mason jar. Make sure you only fill it half way so that there’s plenty of room to shake the liquid around. Use a few clean marbles inside the jar to make the butter churning process faster. If you do not have marbles the butter will still churn by shaking. It will just take longer.
- Secure the lid to the mason jar and begin shaking. This step may take anywhere from 8 – 15 minutes of continuous shaking. Having multiple shakers to switch off to is helpful. Encourage the kids to jump,and wiggle while shaking the jar. Make it a fun game.
- In about 4-5 minutes you will begin to hear a difference in the shaking sound. Stop shaking for a moment and show the kids that it is working! You should be able to see the beginning of the butter and the buttermilk separating. Add salt, put the lid back on, and keep shaking!( Salt is optional, you can also add a tsp of honey and cinnamon to make sweet butter, instead of salt. You can play around with the recipe. Be creative!)
- Once you feel like there’s a solid mass shaking around in the jar, the butter should be done. Use a strainer to separate the butter from the buttermilk and transfer each to their own container. Butter will last 2-3 days in the refrigerator, so it’s a good idea to make a batch of biscuits and use up that butter quickly!
